Outfitting your home with quality, stylish furniture can be both exciting and transformative—a fact keenly understood by devotees of popular Swedish company, IKEA. Among the most functional and sought-after IKEA products are their kitchen islands, offering a versatile combination of increased storage and prepping space. As with any DIY project, constructing an IKEA kitchen island requires preparation. This entails grasping the peculiarity behind IKEA’s unique, non-verbal assembly instructions, getting your tools and assembly materials set, and understanding the assembly and finishing techniques that’ll bring your desired kitchen island to life. Delving into these topics, we will aim to provide user-friendly guidance and tips on how to confidently embrace this exciting DIY project.
Understanding IKEA Assembly Instructions
Demystifying IKEA’s Assembly Instructions: A Guide for Building Your Kitchen Island
Are you intrigued by the prospect of building your very own IKEA kitchen island but slightly dazed by those cryptic assembly instructions? No worries! Having cracked the code of IKEA’s unique blueprint language, let’s share some valuable insights. By the end of this article, you’ll be able to interpret IKEA diagrams with the ease of reading a well-illustrated storybook.
1. Familiarize Yourself With The Instructions
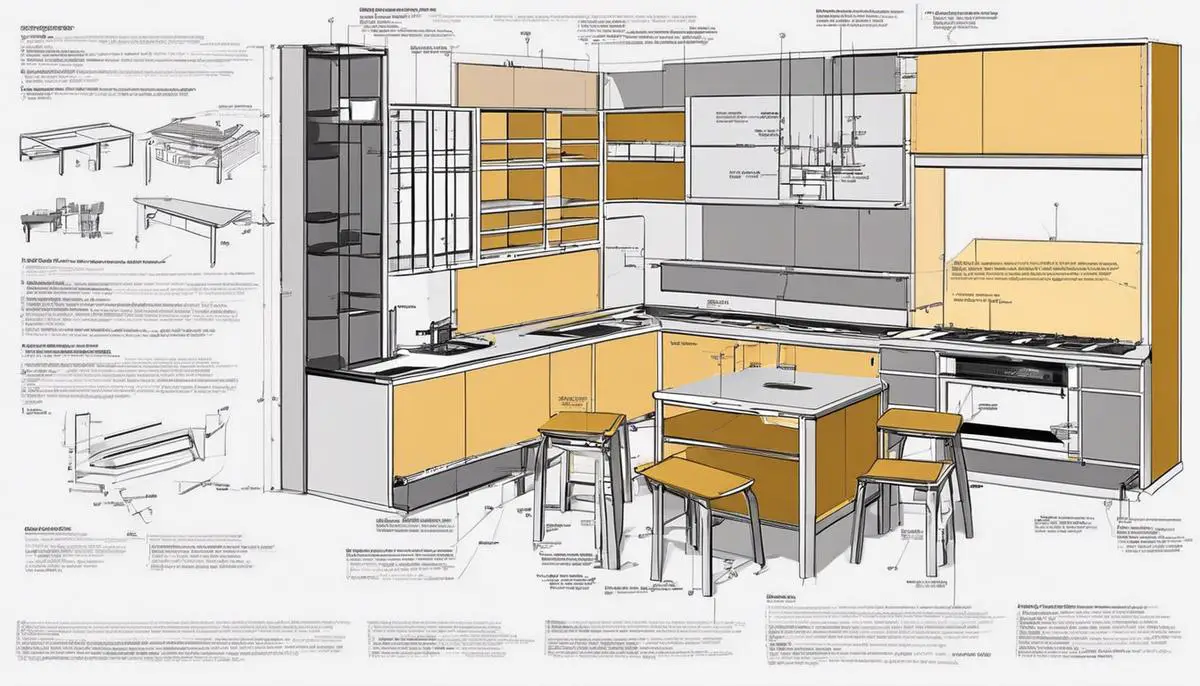
Before you dive in with your screwdriver and Allen wrench, take a step back. Browse through the entire booklet, understanding its sequence and flow. IKEA manuals are pictorial portrayals of the assembly process. These grey-scaled drawings can be easier to understand than text, but, because of their minimalist nature, might seem obscure initially. You’ll notice that the instructions for different parts are listed step by step, with each step on a new page.
2. Identify All Components
IKEA manuals objectively list out every component that is in the box. Parts are often labeled by a combination of numbers and letters. Lay out all the pieces, matching them with their depictions in the instruction guide. This helps you feel less overwhelmed and more organized. Also, keep an eye out for the various types of screws and fasteners – IKEA loves to toss in a variety.
3. Decipher the Technical Symbols
While building the kitchen island, pay close attention to the technical symbols IKEA uses in its instructions. ‘X’ usually means “do not do,” whereas an arrow indicates “this side up” or “insert here”. The dotted lines usually depict the hidden or unseen parts of an assembly. A circled number indicates that a step will be repeated several times.
4. Follow The Steps Religiously
The key to a successful IKEA assembly is strictly following the order in which the steps are described. Don’t be tempted to skip around thinking you may have outsmarted the process. IKEA uses a building block approach which – although it may seem unconventional – has been thoroughly tested to assure the sturdiest build.
5. Take It Slow
Patience might be the most crucial tool in your kit when assembling IKEA furniture. IKEA assembly can be a breeze if you take your time to correctly decipher the manual.
6. Use the Right Tools
While IKEA gives you most of the necessary tools, having a basic toolkit at your disposal will make the process smoother. A simple hammer, screwdriver, and drill could simplify many of the steps.
Building an IKEA kitchen island need not be an uphill battle. With these guidelines, you’re now prepared to undertake this satisfying task. Enjoy the process as you create a beautiful addition to your kitchen. Happy assembling!

Photo by nahakiole on Unsplash
Gathering and Organizing Tools and Materials
Article:
The Allure of Assembling an IKEA Kitchen Island: Essential Tools and Materials
When it comes down to transforming flat-packed IKEA components into a functional, aesthetically stunning kitchen island, knowing your tools and materials is half the battle already won. The passion, patience, and precision you’ve nurtured will shine through once you have the right essentials at your fingertips. Let’s dive right into the specifics, leaving no stone unturned.
First and foremost, there’s that ever-so-handy Phillips-head screwdriver. This universal tool is fundamental in your IKEA kitchen island assembly process. It’s typically used to secure connectors and twist in screws, which are ubiquitous in IKEA’s furniture.
The next tool you’ll want to have at your disposal is an Allen wrench (also known as a hex key). IKEA includes these in the box, but having a set of your own provides ergonomic advantages. A T-handle Allen wrench, for instance, offers better torque and makes screwing in those long cam-lock bolts a breeze.
Another essential is a rubber mallet. It’s incredibly useful for pushing pieces together without scratching or chipping the material. You can also use it to ensure dowels are securely in place. Although it’s not always listed in IKEA manuals, experienced hobbyists often find it priceless during assembly, especially when dealing with snug or stubborn components.
Though not a tool in the traditional sense, painter’s tape doubles up as a protective measure and an aligning guide. It can shield surfaces from potential scratches and help keep parts aligned during assembly. Also, using a tape measure alongside it can ensure accurate positioning and alignment of your kitchen island.
Imagine trying to build your island on an unstable or slanting platform. It’s a recipe for disaster! A spirit level is an effective tool to ensure your setup’s evenness during assembly. Also, IKEA furniture is designed to be perfectly level, so this magnetic tool can help in identifying any discrepancies.
Last but not least, the humble pencil can often be a godsend. From marking drilling points for cabinet handles to noting any positioning specifics, its utility cannot be overstated.
In terms of materials, you will need the ones provided in your IKEA flat pack. From wooden dowels and cam-lock fittings to different screws and mounting brackets, every piece has its specific place and purpose. Also, ensure you have a clear and spacious area to perform the assembly operation.
Go forth now, armed with your newfound knowledge, and embrace the fulfilling process of assembling your IKEA kitchen island. You’ve got the basics down pat – it’s time to put your skills to the test. Happy assembling!

Assembly and Finishing Techniques
Diving In Deeper to the World of Ikea Kitchen Island Assembly
Now that the basics are well-covered, let’s delve into more advanced techniques that make IKEA kitchen island assembly a more efficient and even enjoyable process.
Getting organized before starting on your assembly adventure can’t be stressed enough. Create a workstation with all aids and tools at arm’s reach. This means setting up a clear, well-lit area with all components and tools categorized and arranged conveniently. It might be helpful to divide screws, connectors, and other small parts into bowls or containers. This can prevent them from becoming lost or mixed up. A work light can also be a useful tool for those tricky to see areas.
Use a drill sparingly and professionally. Although it’s not listed as a needed tool in IKEA’s manual, cordless drills can make the process faster and easier, especially for those considerable amounts of screws. However, caution is needed! Drills can easily strip the pre-set holes in IKEA furniture or penetrate too far into the wood causing damage. Using a drill with a clutch that can be set to a lower setting is beneficial as this can lessen the drill’s power, diminishing the risk of damage.
Lets take a moment to appreciate the magic of wood glue. Its application isn’t explicitly detailed in the assembly instructions, but experienced IKEA assemblers always keep a bottle handy. A bit of wood glue can be applied in dowel holes and along the edges of wood pieces before assembly for an extra-strong hold. This makes the kitchen island more robust and expands its lifespan.
The process of assembly is not all about hitting nails and tightening screws. Your island’s longevity and aesthetics heavily lean on the finishing touches. Once assembled, check and tighten all screws and ensure everything is secured properly. Protective pads can be placed on the bottom of your kitchen island to protect your floors from scratches. These pads can be cut to size and stick to the bottom of your kitchen island legs.
Now, take a step back and admire your work before you start cooking up a storm. Don’t forget, the process of building something yourself adds an extra bit of love to your home. This can be an awarding journey, one in which a box filled with seemingly random pieces transforms into functional, stylish furniture. It’s more than an IKEA kitchen island – it’s a monument of your skills, patience, and ingenuity.

With each IKEA kitchen island assembly, a world of enhanced practicality, style, and functionality awaits. Recognizing the non-verbal IKEA instructions, gathering and organizing the essential tools and materials, and applying optimal assembly and finishing techniques are all key factors in achieving this result. These guidelines help to eliminate uncertainties and preventable hitches while creating the stylish and multifunctional kitchen environment that you envision. Remember, the process of assembling your IKEA kitchen island is not just about getting a piece of furniture up; it’s also about the satisfaction and sense of accomplishment from successfully completing a DIY project.


