
Enhancing the aesthetic appeal of your living space can be achieved through various means, one of which is by adding a stylish frame to a simple mirror. The IKEA Hovet mirror is a popular choice due to its minimalistic design and versatility. In this article, we will explore the process of creating a beautiful and functional frame for this mirror as a do-it-yourself project, a DIY IKEA Hovet Mirror Frame. With a few essential tools and the proper technique, you can transform your room with a handmade touch that is both affordable and impressive.
Gathering Necessary Materials
DIY IKEA Hovet Mirror Frame: Instructions
Creating a beautiful and elegant mirror frame for your IKEA Hovet mirror can elevate your home decor and make the mirror function as both a practical and decorative piece. Here are the step-by-step instructions on how to gather the necessary materials in order to create a DIY frame for your IKEA Hovet mirror:
Step 1: Acquire an IKEA Hovet Mirror
First things first, you need to get a Hovet mirror from IKEA. You can purchase it either online or in-store. This mirror is a simple design with an aluminum frame, and it’s perfect for a fun and easy DIY framing project.
Step 2: Gather the Necessary Supplies
To create a beautiful wooden frame for your IKEA Hovet mirror, you will need the following supplies:
- Measuring tape
- Wood of your choice for the frame
- Wood stain
- Sandpaper
- A hand saw or power saw
- Wood glue
- L-brackets and screws
- Paintbrush and cloth (for staining the wood)
Step 3: Measure Your Mirror
Using the measuring tape, measure the length and width of your mirror. This will help you to determine the size of the wooden frame you’ll need.
Step 4: Purchase and Cut the Wood
Now that you know the measurements of your mirror, you can head to your local hardware store to purchase the wood to create your frame. Consider using a durable hardwood, like oak, walnut, or cherry, to achieve a long-lasting and elegant frame.
You need four pieces of wood to make your frame. Two of the pieces should have a length equal to the length of the mirror and the other two should have a length equal to the width of the mirror.
Once you have the wood, use a saw to cut it to the correct measurements. If you’re not comfortable using a power saw, you can ask an associate at the hardware store to make the cuts for you.
Step 5: Sand and Stain the Wood
Before assembling your frame, sand each piece of wood to remove any rough edges and create a smooth surface. Once you’ve sanded the wood, you can apply the wood stain using a paintbrush or cloth. Be sure to follow the manufacturer’s instructions on the stain container for best results. Allow the stain to dry for the recommended time before moving on to the assembly process.
Now that you have all the necessary materials, you’re ready to move on to the next step of your DIY IKEA Hovet mirror frame project, which involves assembling the frame and attaching it to the mirror. Good luck and happy crafting!
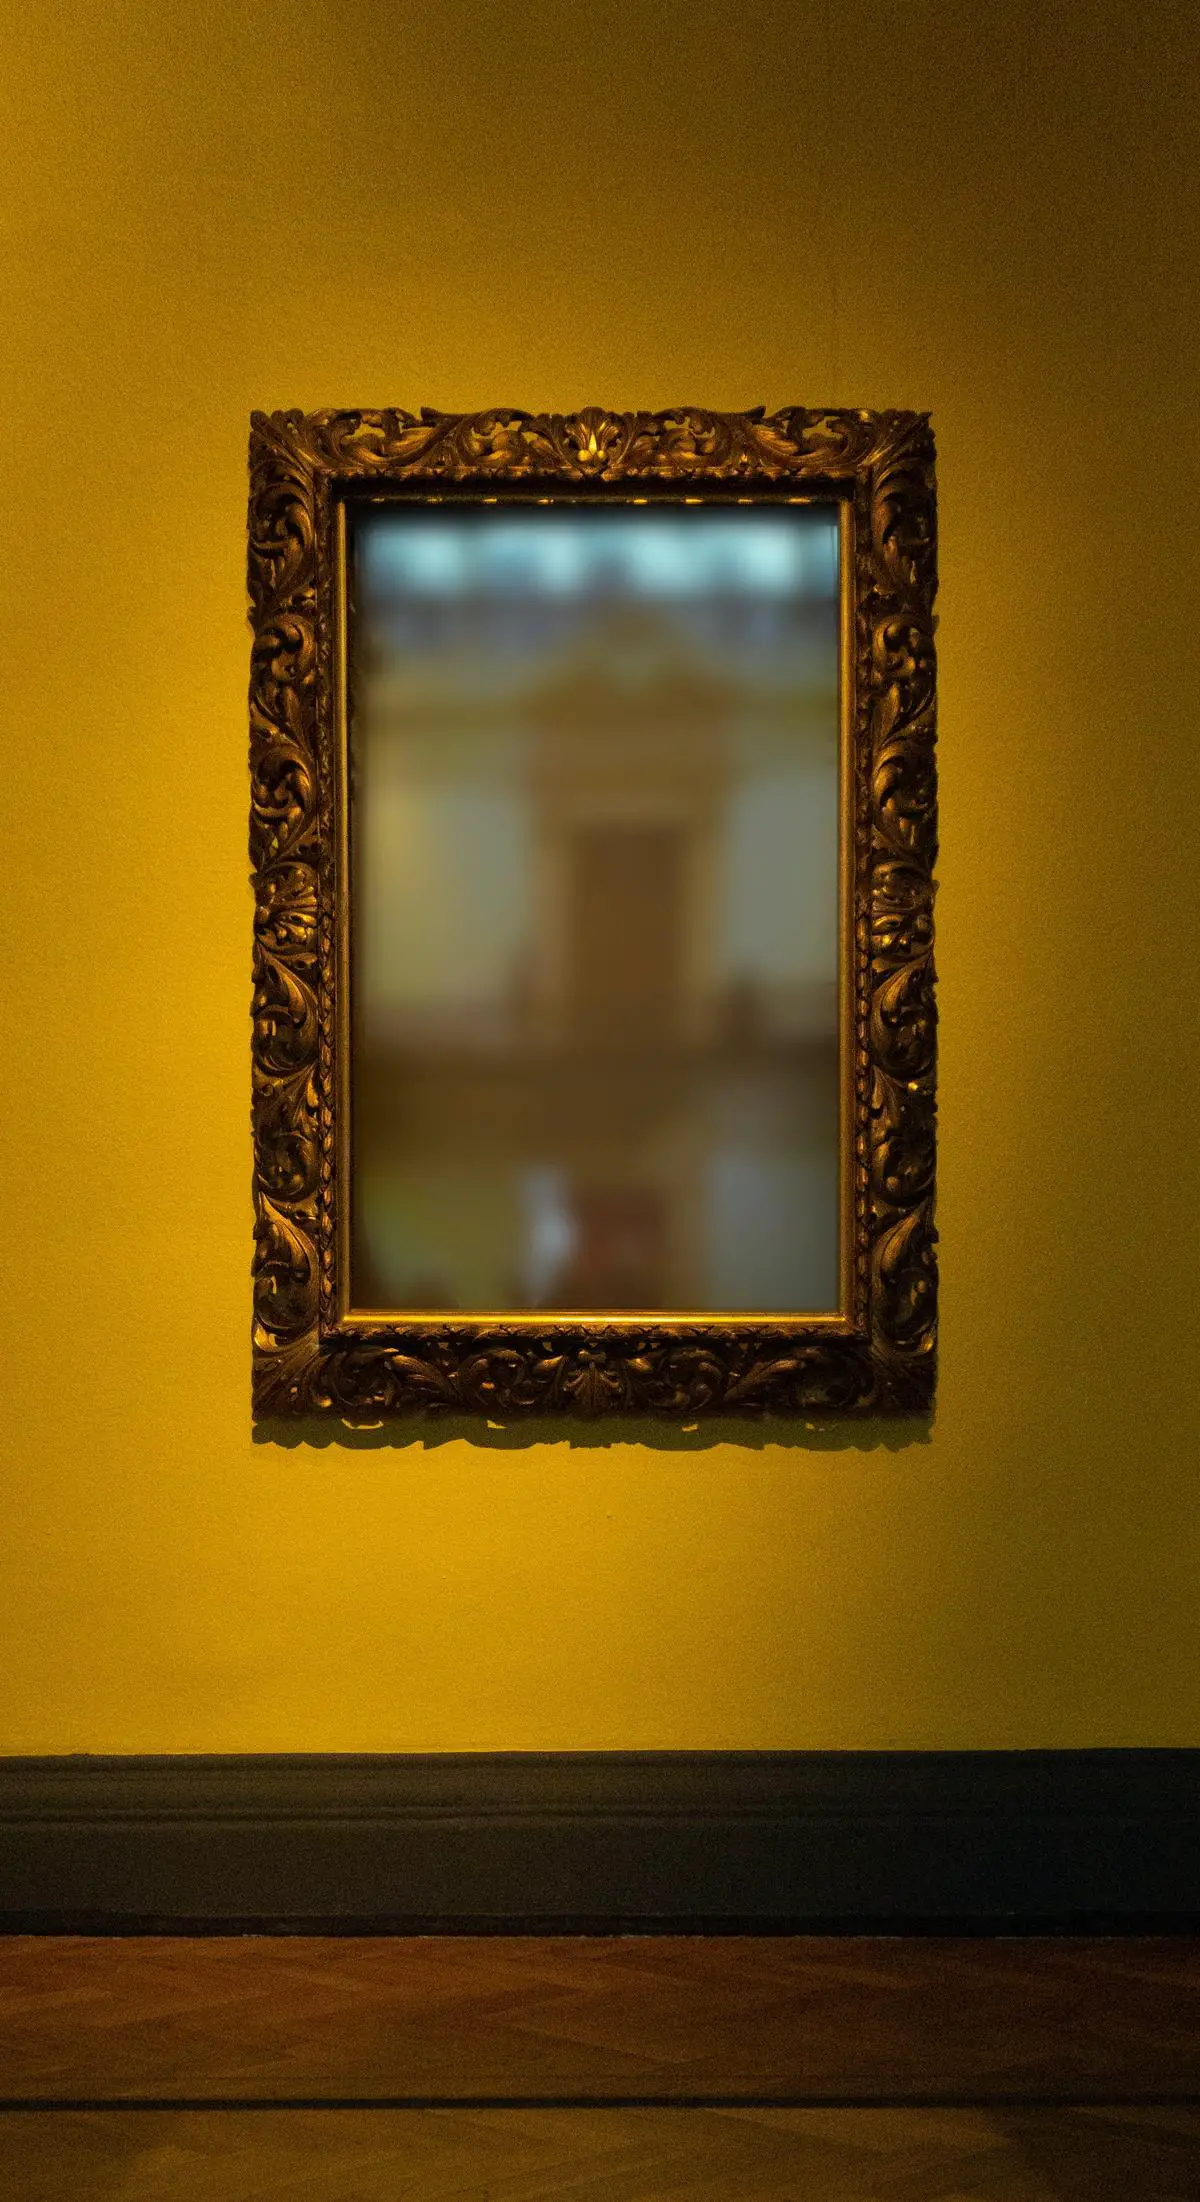
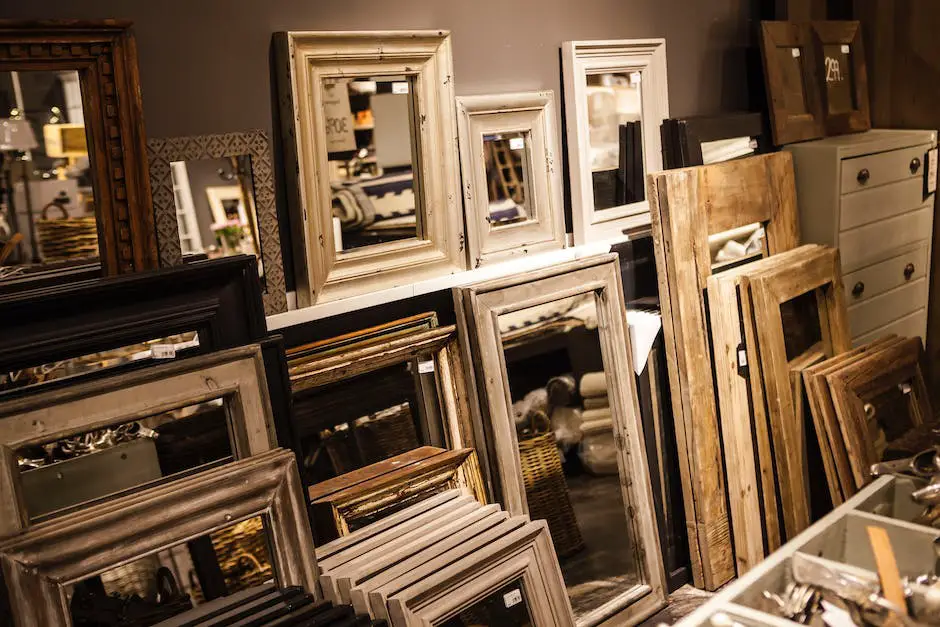
Photo by villxsmil on Unsplash
Measuring and Cutting Frame Pieces
Preparation
Gather the necessary tools and materials:
- IKEA Hovet mirror (already assembled)
- Wood of your choice for the framing (sufficient length and width)
- Measuring tape
- Pencil or marker for marking measurements
- Miter saw or handsaw with a miter box
- Sandpaper
- Wood glue
- L-square or carpenter’s square (optional)
Measuring the Hovet Mirror
1. Lay the Hovet mirror on a clean and flat surface with the front facing up.
2. Using a measuring tape, measure the mirror’s length and width edges from one end to the other. The Hovet mirror dimensions should be approximately 30 3/4 inches wide and 77 1/8 inches long. Write these measurements down for future reference.
Measuring and Marking Frame Pieces
3. Determine the width of your frame pieces. This can be a standard 2-inch width or any preferred width that you like. If you haven’t already, purchase wood for the framing that fits this width and is long enough to cover the mirror’s edges.
4. Using the measuring tape, measure and mark the frame wood to the length of the Hovet mirror ensuring it will cover the width and length edges of the mirror. You will need two pieces for the width and two pieces for the length of the mirror. Ensure the wood pieces are straight and equal in size.
5. Mark 90-degree angles on the ends of each frame piece using an L-square or carpenter’s square (optional). This will ensure the frame corners sit flush when put together.
Cutting Frame Pieces
6. Position the wood pieces on a stable work surface and use a miter saw or a handsaw with a miter box to cut the wood at the marked angle. Remember to follow all safety precautions when using any power tools.
7. Once you’ve cut the frame pieces to the correct length and angle, use sandpaper to smooth out any rough or uneven edges.
Dry Fitting and Adjustments
8. Align the frame pieces around the Hovet mirror to ensure proper fit and alignment. If any of the cuts are too long or don’t fit flush, make necessary adjustments and trim the frame pieces as needed. Ensure a smooth, perfect fit for assembly.
With all of your frame pieces measured and cut, you’re now ready to start assembling your DIY IKEA Hovet mirror frame!

Assembling and Finishing the Frame
Gather Materials and Tools
Before starting the project, gather all the necessary materials and tools. You will need:
- IKEA Hovet Mirror
- Wood pieces for frame (4)
- Wood stain or paint
- Wood glue
- Sandpaper (120-grit and 220-grit)
- Paintbrush, sponge, or rag (for staining)
- Wood clamps or masking tape
- Clean, lint-free cloth
- Measuring tape or ruler
- Saw (optional, if you need to cut wood to size)
- L-brackets (4) and screws
- Screwdriver or drill
- Level
Measure and Cut the Wood
- Measure the Hovet mirror’s dimensions. The mirror should be 30 3/4″ x 77 1/8″.
- Cut four wood pieces for the frame using the mirror’s dimensions. You can use a miter saw for accurate cuts or have them pre-cut at a hardware store.
Sand the Frame Pieces
- Begin by using 120-grit sandpaper to remove any rough spots or imperfections from the wood’s surface. Sand in the direction of the wood grain.
- Once the wood is smooth, switch to 220-grit sandpaper and sand the wood again to achieve a smooth finish. Remove any dust accumulated from sanding with a clean cloth.
Stain or Paint the Frame Pieces
- Prepare the wood stain or paint according to the manufacturer’s instructions.
- Apply the stain or paint using a brush, sponge, or rag, following the wood grain’s direction. Remember to wear gloves to protect your hands.
- Wipe off any excess stain with a clean cloth.
- Allow the stain or paint to dry according to the manufacturer’s recommendations. If necessary, apply additional coats for a more vibrant color or deeper finish.
- Once the frame pieces are dry, sand them lightly with 220-grit sandpaper before applying a final coat of stain or paint.
- Allow the final coat to dry completely.
Assemble the Frame
- Lay out the frame pieces on a flat surface, with the front-facing down, to form a rectangle.
- Apply wood glue to the ends of each frame piece where they join together.
- Secure the glued corners with wood clamps or masking tape. Wipe any excess glue with a cloth.
- Allow the glue to dry according to the manufacturer’s recommendations. Remove the clamps or tape once the glue is dry.
Attach the Frame to the Hovet Mirror
- Place the Hovet mirror face down on a clean, soft surface to prevent scratching.
- Position the frame on top of the mirror, ensuring the edges align correctly.
- Attach L-brackets to each corner of the frame using screws. The L-brackets’ short side goes on the frame, and the long side goes against the mirror’s edge.
- Use a level to ensure the frame is straight and then screw the L-brackets into the back of the Hovet mirror. Be cautious not to over-tighten or use too long screws, as it may damage the mirror.
Finished Product
Now, your DIY IKEA Hovet Mirror Frame is complete! Stand the mirror upright, and enjoy the finished product in your space.

Photo by villxsmil on Unsplash
By following these steps for creating your own custom IKEA Hovet mirror frame, you can elevate your home decor without breaking the bank. This DIY project is an excellent opportunity to express your personal style and showcase your creativity. Your newly framed mirror can be a statement piece in your home and a testament to your ingenuity. So, don’t hesitate to embark on this journey and let your artistic flair shine through.
