

Whether you are in the midst of a comprehensive kitchen overhaul, or simply choosing furniture to adorn your room, IKEA cabinets can be an excellent, stylish, and cost-effective choice. They come with an array of options to suit multiple preferences and an in-depth installation guide to assist even the most DIY-challenged individuals. This guide aims to simplify the process, beginning with an understanding of the IKEA Cabinet specifications, including the different types available and how to accurately measure your space. Following this, we will delve into the assembly process, illuminating each step, and the role of each cabinet component. Finally, we will guide you through the safe and correct cabinet installation, ensuring your IKEA cabinets are aligned, level, secured, and perform effectively in your designated area.
Understanding IKEA Cabinet Specifications
Understanding IKEA Cabinet Specifications: A Primer
IKEA has built a reputation for offering sleek, contemporary designs at a wallet-friendly price. In the realm of home improvement, their cabinets are particularly a standout. To ensure your IKEA cabinet installation goes smoothly, it’s crucial to understand the various types of IKEA cabinets available, to measure your space correctly, and to familiarize yourself with the IKEA cabinet installation guide.
Diving into the Variety of IKEA Cabinets
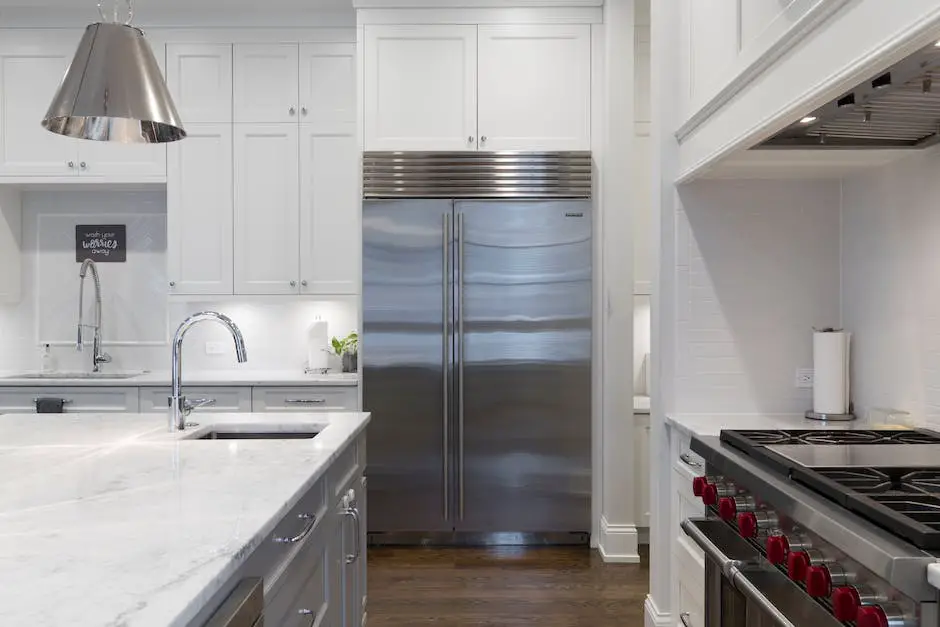
IKEA cabinets come in various shapes, sizes, and designs, giving homeowners a wealth of choices to perfectly match their interiors. These cabinets fall into two major categories: wall cabinets and base cabinets.
Wall cabinets, as the name suggests, are mounted onto the wall. They usually lack a solid bottom, instead having a reinforced back for stable hanging.
Base cabinets, on the other hand, rest on the floor. They include a sturdy top and bottom and are typically used for sinks, cooktops, or as standalone storage units. Within these two broad categories, IKEA offers cabinets with multiple drawers, doors, open shelves, or a combination of these.
How to Measure Your Space for IKEA Cabinets
The key to a neat and successful cabinet installation is precise measurements. Here’s a step-by-step guide on how to measure your space:
- Measure the width: Starting from one corner of the wall, measure across in inches to the further corner.
- Measure the height: Start from the floor and measure up to the ceiling.
- Consider the depth: The standard depth of an IKEA wall cabinet is 15 inches, and a base cabinet is 24 inches. Ensure you measure the depth of your available space too.
- Account for appliances and fixtures: Measure the space occupied by your appliances like refrigerator, stove, dishwasher, or sink if they are to be integrated.
Ensure to write down and double-check these measurements. They will be critical when selecting your cabinets.
Getting Familiar with the IKEA Cabinet Installation Guide and Terms
IKEA is known for its detailed guides that help users self-assemble the products. This certainly stands true for their cabinets as well. The IKEA cabinet installation guide is a comprehensive manual that walks you through every step of the installation process.
Key IKEA terms to familiarize yourself with include:
- “Suspension Rail”: This is a system used to hang wall cabinets. The Rail is attached to the wall and the cabinets hang from it.
- “Cabinet Frames”: These are the core structure of the cabinet around which doors, drawers, and shelves are fitted.
- “Kickboards or Toe Kicks”: A protective panel that is fitted to the front base of a cabinet to conceal the legs.
- “Filler Pieces”: Additional pieces which can be added to cover any gaps or create a seamless look between cabinets.
Armed with the knowledge of these terms, it will be easier to decipher the instructions and install your IKEA cabinets like a pro.
Remember, IKEA cabinets are designed for easy installation, but success depends on accurate space measurement, correct understanding of instructions, and proper use of tools.
Assembling IKEA Cabinets
Introduction: Building your own IKEA Cabinet
Constructing IKEA cabinets may seem a daunting task, especially if you’re doing it for the first time. However, with a clear understanding of the instructional manual and proper organization, anyone can master the assembly of these cleverly designed furnishings. This guide walks you through the process of unpacking and assembling IKEA cabinets, highlighting the importance of each step and the purpose of each component.
Step 1: Unpacking the Box
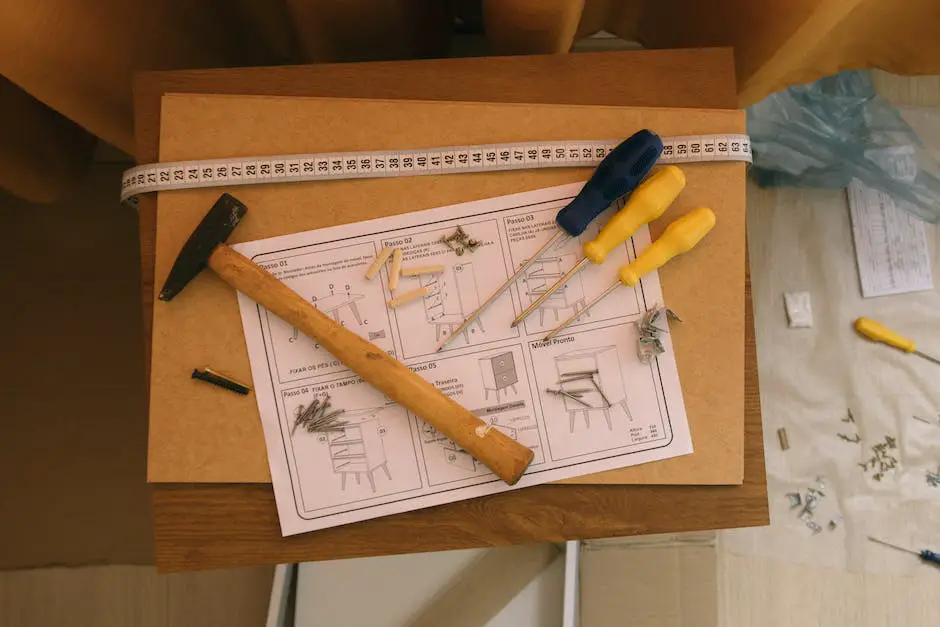
Start by carefully unboxing your IKEA cabinet on a clean, flat surface, ensuring all the parts are present as per the list given in the instruction manual. Ensure not to use sharp tools during the unpacking process, to prevent damage to the components. Each cabinet pack typically includes wooden panels, screws, cam locks, dowels, and other small hardware.
Step 2: Identify and Organize the Components
After unboxing, spend some time familiarizing yourself with the different components in the package. IKEA provides a manual with illustrations to make this process easier. It might be helpful to separate similar items into groups, to make them readily accessible when needed.
Step 3: Start with the Cabinet Frame
The most significant part of an IKEA cabinet is its frame. Assemble the sidewalls, top, and bottom panels by joining them together with the provided dowels and screws, following the precise order as instructed in the manual. Double-check all your fixtures, making sure every connection is securely held in place.
Step 4: Assemble the Back Panel
IKEA cabinets often come with a thin back panel held by small nails. Place the frame onto the back panel and gently hammer in the nails along the frame’s edge. Make sure the panel is flush with the frame.
Step 5: Attach Doors and Drawers
Once the main structure is ready, you can proceed to install doors or drawers, if your specific model includes them.
For doors, attach the hinges to the doors first, following guidelines in the manual. Then, fasten the doors to the cabinet using the pre-drilled holes.
For drawers, assemble each drawer before sliding it into its slot in the cabinet. Ensure the runners are properly installed on the drawer and the cabinet for smooth functioning.
Step 6: Install Cabinet Hardware
Lastl, fix handles or knobs to the doors or drawers based on the model you have purchased. Tighten the screws but ensure not to over-tighten as it might strip the screw-hole or crack the material.
Step 7: Mounting the Cabinet
After the assembly is completed, you might need to mount the cabinet onto the wall. For this step, always refer to the instructions given in the manual and make sure to secure it properly to prevent accidents.
Conclusion: the Joy of Accomplishment
Assembling your own IKEA cabinet might require a bit of patience and some time, but the reward of seeing the completed product, built with your own hands, is priceless. Always keep the manual handy, stay organized, and follow the instructions carefully. Ultimately, constructing an IKEA cabinet is a testament to your capability, offering hands-on experience in building practical and stylish furniture.
Installing IKEA Cabinets
Understanding and Preparing Your IKEA Cabinets
Before anyone can begin installing IKEA cabinets, it’s critical to thoroughly read through the assembly instructions that come with each cabinet. IKEA is notable for their easy-to-follow, pictographic instructions. Take the time to familiarize yourself with the different parts of your cabinet and your provided tools.
Assembling Your IKEA Cabinets
Once you have compiled all of your parts and necessary tools, you may begin the assembly of your IKEA cabinet. Follow the instructions provided, making sure to screw in any bolts or screws securely, as they will be holding the weight of your cabinet. Remember not to overtighten, which could potentially damage the cabinet.
Aligning and Leveling Your IKEA Cabinets
After you’ve assembled your IKEA cabinet, you can begin the process of aligning and leveling your cabinet. Position your cabinet on the desired location on the wall. Using a pencil, mark the top corner points on the location where the suspension rail will go. Use these marks as a reference for the height of the cabinet.
Grab your level and put it against the wall, lining it up with your pencil marks. Draw a line on the wall to illustrate where you’ll be drilling.
Securing Your Cabinet
With your suspension rail in place, you can now secure the cabinet. Fasten the cabinet to the suspension rails. Make sure your cabinet is right in place, check the level again.
Drill pilot holes into the wall at the marked spots, then attach the rails to the wall using wall anchors or screws, depending on the type of wall you have.
Testing Your IKEA Cabinets
Now that you’ve successfully secured your cabinet, you must ensure it’s safe to use. Check that the cabinet is flush against the wall, with no gaps or loose corners. Also, ensure that the doors and draws open and close with ease.
Lasty, double-check whether the cabinet is level. If not, adjust the legs or suspension rail until it’s perfectly leveled.
Final Thoughts
Installing IKEA cabinets can be an engaging DIY project. However, it’s vital to remember that safety comes first, especially when dealing with heavy pieces. Make sure you have someone to assist you if possible, and don’t rush the process. Take your time and appreciate the handy work you’ve accomplished once done. With these steps, your IKEA cabinet should be up and ready for use in no time!

Having explored the IKEA cabinet specifications, assembly, and installation process, your path to a beautifully furnished space using these cabinets should be clear and manageable. Remember the effectiveness of your installation largely depends on how accurately you adhere to the instructions, measurements, and safety precautions. So, take your time, double-check each step, and don’t shy away from seeking help if need arises. IKEA’s affordable yet stylish cabinets can transform any area into an elegant, functional space – all it takes is a little time, patience, and an understanding of the procedure. May your journey to installing IKEA cabinets be an exciting and rewarding DIY endeavour.
