
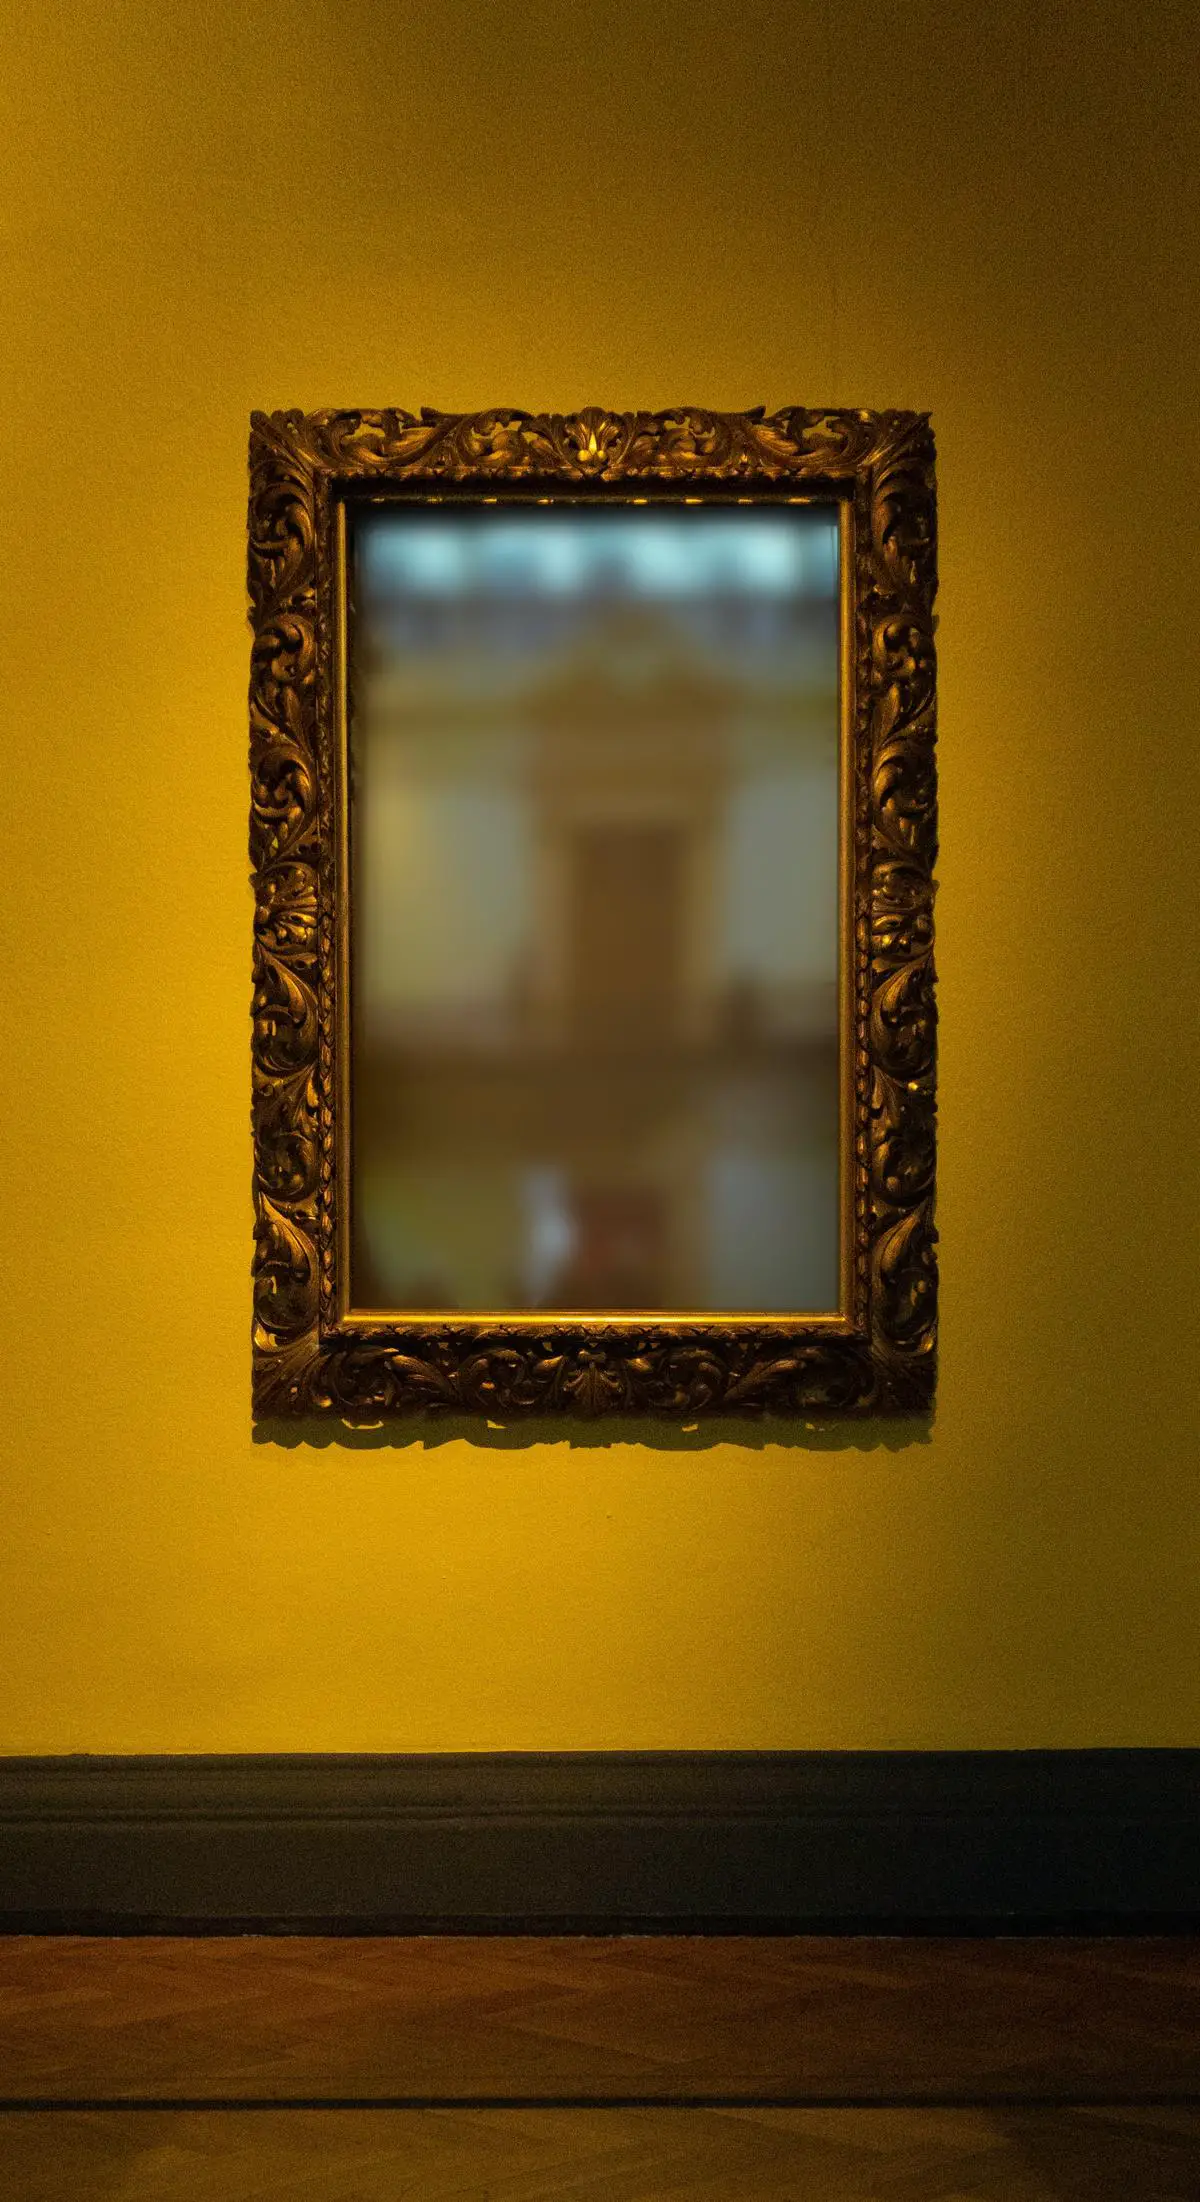
Transforming your living space with a stylish and functional piece like the IKEA Hovet mirror can add a touch of elegance to any room. With its sleek design and simple hanging process, it is the ideal addition for those looking to spruce up their homes. In this guide, we will provide you with valuable tips on how to correctly and safely hang your IKEA Hovet mirror, ensuring you have all the necessary tools and knowledge to achieve the perfect placement.
Gathering Necessary Tools and Materials
Gathering Necessary Tools and Materials
Before hanging your IKEA Hovet mirror, it’s important to gather all the necessary tools and materials to ensure a secure and efficient installation. Follow this list as a guide for what you’ll need:
- IKEA Hovet Mirror: Ensure you have the IKEA Hovet mirror that you wish to hang.
- Drill: You will need a drill to create holes in the wall for the anchors and screws.
- Drill bits: In order to create the correct size holes for the wall anchors, you’ll need appropriate drill bits. Check the size of your wall anchors to find the corresponding drill bit.
- Level: A level is critical in ensuring the mirror hangs straight and evenly on the wall.
- Tape measure: You’ll need a tape measure to measure distances on the wall and find the proper location for hanging the mirror.
- Pencil: A pencil is useful for marking the wall where you plan to drill holes.
- Wall anchors and screws: Depending on the type of wall (drywall, plaster, etc.), you’ll need to select the appropriate wall anchors and screws that will securely hold the mirror in place. Consult with an expert at your local hardware store if you’re unsure what type to select.
- Stud finder (optional): If you plan to mount the mirror to a stud in the wall, a stud finder can be helpful in locating the stud’s location.
- Safety equipment: Always be sure to use proper safety equipment such as safety goggles and gloves when using power tools.
Once you have gathered all of the necessary tools and materials, you’ll be prepared to hang your IKEA Hovet mirror securely and effortlessly.

Photo by villxsmil on Unsplash
Preparing the Wall
Step 1: Gather Necessary Tools and Materials
- IKEA Hovet Mirror
- Stud finder
- Level
- Pencil
- Measuring tape
- Drill with appropriate drill bits
- Wall anchors (if necessary)
- Screws
- Screwdriver
- Hammer
Step 2: Determine the Wall Composition
The wall composition can affect the tools and materials you’ll use for hanging the mirror. There are three common types of walls:
- Drywall: This is the most common type of wall and consists of a layer of gypsum plaster sandwiched between two sheets of thick paper.
- Plaster: An older form of wall construction, plaster walls have a layer of plaster applied over lath (wooden strips) and can be very hard.
- Masonry: Walls made of brick, stone, or concrete are considered masonry walls.
The type of wall will determine which wall anchors and screws you’ll need to use. Drywall and plaster will typically require plastic or metal wall anchors, while masonry walls will require masonry anchors.
Step 3: Locate Electrical Wiring and Studs
Before drilling any holes, it’s essential to locate any electrical wiring and studs behind the wall. Use a stud finder to help locate the studs, which are typically spaced 16 to 24 inches apart. This is important because you want to avoid drilling into electrical wiring and may want to secure the mirror to a stud for added support. Mark the location of the studs with a pencil.
Step 4: Decide on the Mirror Placement
Hold the IKEA Hovet Mirror against the wall to decide where you want it to hang. Keep in mind any nearby furniture, doors, or windows to ensure there’s enough space. Use a pencil to mark the top corners of the mirror on the wall. Measure the distance from the corner marks to the floor and make sure they are equal, indicating that the mirror will hang level. If your specific Hovet mirror has a mounting bracket, make sure to consider the bracket’s placement when positioning the mirror.
Step 5: Attach Wall Anchors (If Necessary)
If you aren’t attaching the mirror to a stud, you will need to use wall anchors. First, determine the type of wall anchor required for your wall composition. Drill holes at your marked locations, following the manufacturer’s guidelines for hole depth and size. Then, insert the wall anchors by gently tapping them with a hammer until they are flush with the wall.
Step 6: Secure the Mirror
With the wall anchors in place, you can now secure the IKEA Hovet Mirror to the wall. Hold the mirror up to the wall in the desired location, making sure the holes on the mirror line up with the wall anchors or studs. Use screws to secure the mirror to the anchors or studs. If your specific Hovet mirror has a mounting bracket, attach the bracket first, and then hang the mirror on the bracket.
Step 7: Double-Check the Mirror Alignment
Once the mirror is securely attached to the wall, use a level to check its alignment. Make any necessary adjustments by slightly loosening or tightening the screws. When finished, sit back and enjoy your newly hung IKEA Hovet Mirror.

Mounting and Aligning the Mirror
Gather Tools and Materials
Before you start the process of hanging the IKEA Hovet mirror, you will need some essential tools and materials:
- IKEA Hovet Mirror
- Mounting Brackets (included with the mirror)
- Level
- Pencil
- Measuring tape
- Stud finder (optional but highly recommended)
- Drill
- Wall anchors (if not mounting on studs)
- Screwdriver
Determine Mirror Placement
- Decide where you want to hang the mirror on the wall. It’s recommended to choose a spot where the mirror will be at eye level or slightly lower.
- Use a pencil to mark the center of the wall where you want to hang the mirror. This will be your reference point.
Mounting Bracket Installation
- Locate the manufacturer’s instructions that come with your mirror. Read through them to familiarize yourself with the recommended hanging method and how the mounting brackets should be installed.
- Lay the mirror face down on a flat, cushioned surface (e.g., a carpeted floor or a table with a towel on it) to prevent damage.
- Attach the mounting brackets to the back of the mirror following IKEA’s instructions. These brackets will generally be located near the top corners of the mirror.
- Measure the distance between the brackets. Make a note of this measurement.
Find and Mark Studs or Wall Anchor Locations
- Using a stud finder, locate any wall studs behind the area where you plan to hang the mirror. Ideally, mounting the mirror on studs will provide the most support. If you don’t have a stud finder, simply tap on the wall listening for a solid sound instead of a hollow one to locate the studs.
- Mark the location of any studs with a pencil, making sure they align with the distance between the brackets on the mirror.
- If you cannot find any studs, you will need to use wall anchors to support the mirror. In this case, mark the spots on the wall that correspond to the distance between the brackets.
Drill Holes and Install Wall Anchors if Needed
- Measure up from the center point marked earlier according to the height you desire and mark the bracket hole positions on the wall.
- Use a level to double-check your marks on the wall to ensure they are even. Adjust if needed.
- Drill holes into your marked spots.
- If you’re not using studs, insert wall anchors into the drill holes. Gently tap the anchors with a hammer to make sure they sit flush with the wall.
Mount the Mirror
- Line up your mirror brackets with the holes or wall anchors on the wall.
- Screw the mirror into place using the screws provided. Be careful not to overtighten the screws as this could damage the mirror or mounting hardware.
- Once the mirror is securely mounted, remove any visible pencil marks on the wall with a soft eraser.
Final Alignment and Adjustments
- Check the mirror alignment using a level. If the mirror isn’t level, you may need to adjust the mounting brackets or screws slightly. Be gentle when making adjustments to avoid damaging the mirror or wall.
- Ensure that the mirror is firmly in place and doesn’t wobble. If necessary, tighten the screws to secure the mirror further.
- Step back and admire your newly mounted IKEA Hovet mirror!

With some preparation and the right tools, you can successfully hang your IKEA Hovet mirror with confidence and ease. Don’t let the prospect of a DIY project intimidate you – by following these steps, you can maintain both a safe and secure installation that will keep your mirror looking stunning for years to come. Enjoy your newly revamped living space, complete with the elegant and functional touch of the IKEA Hovet mirror.
